How to Decorate a Tier Cake with Marshmallow Flowers
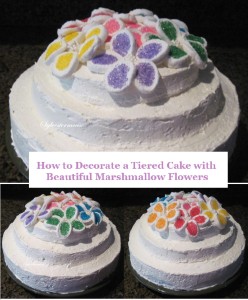
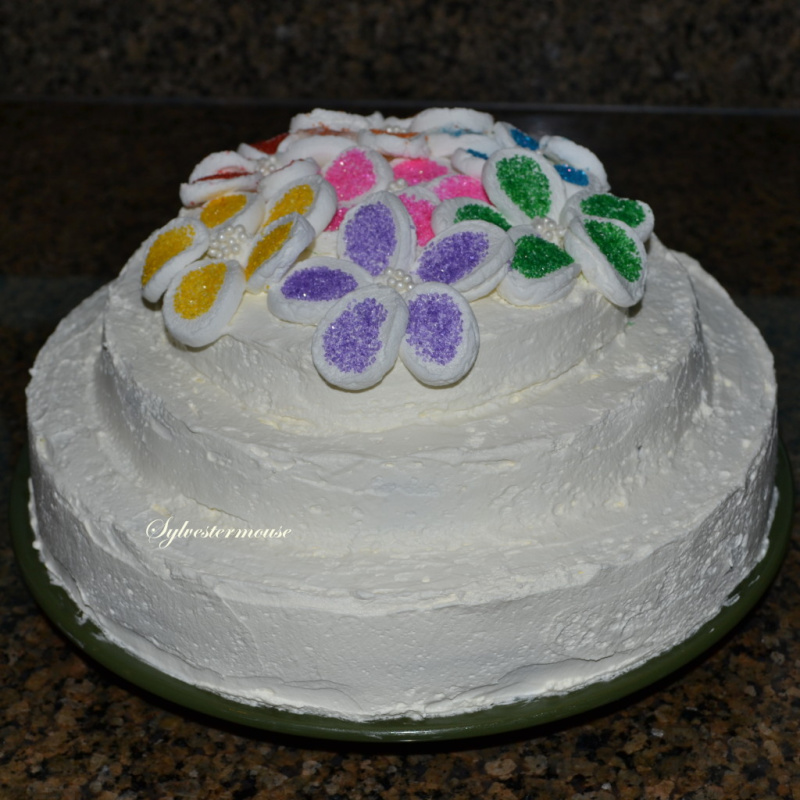 Really Easy Tiered Cake Decorated with Flowers
Decorating a tiered cake with flowers is really very easy! By having the right tools and following the simple directions below, you can make a tier cake decorated with flowers that will rival any professionally made cake, but cost a lot less.
I have been baking and decorating cakes for decades now and this is, by far, my easiest creation. Anyone can decorate this tier cake with flowers! I will show you exactly what pans, tools and supplies you need to make your own lovely floral tiered cake. Below are step by step instructions with lots of photos.
You can even invite the whole family to join you! It would be the perfect cake to teach a child the very basics of cake decorating. Of course, you could keep the secrets of simplicity and just graciously accept all of the accolades and praise for a beautifully decorated tier cake with flowers.
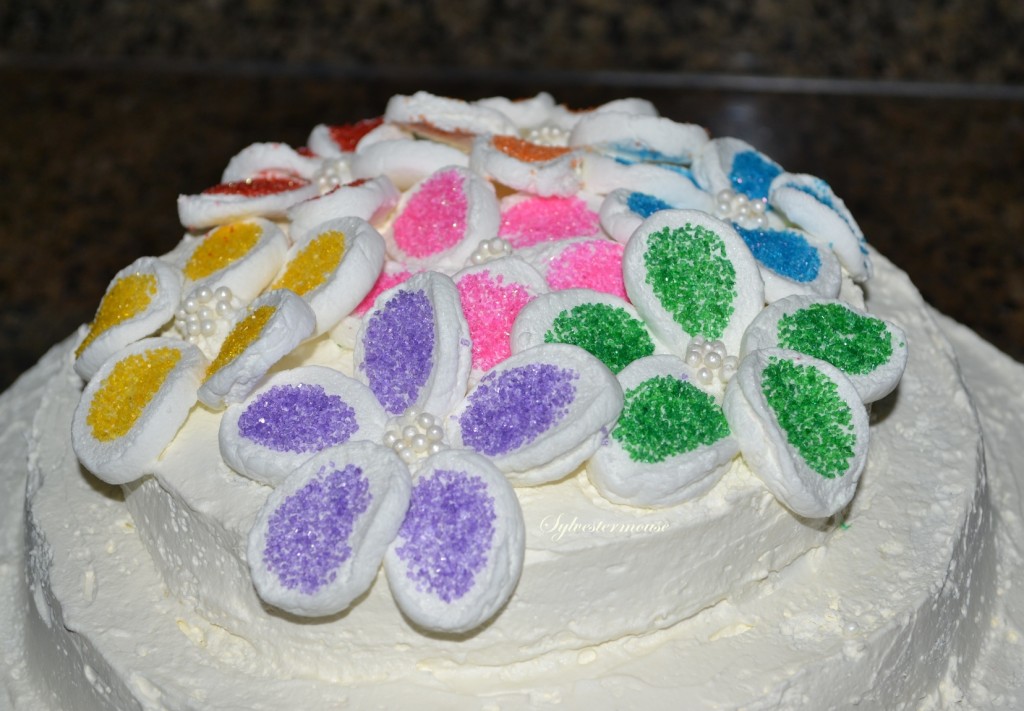
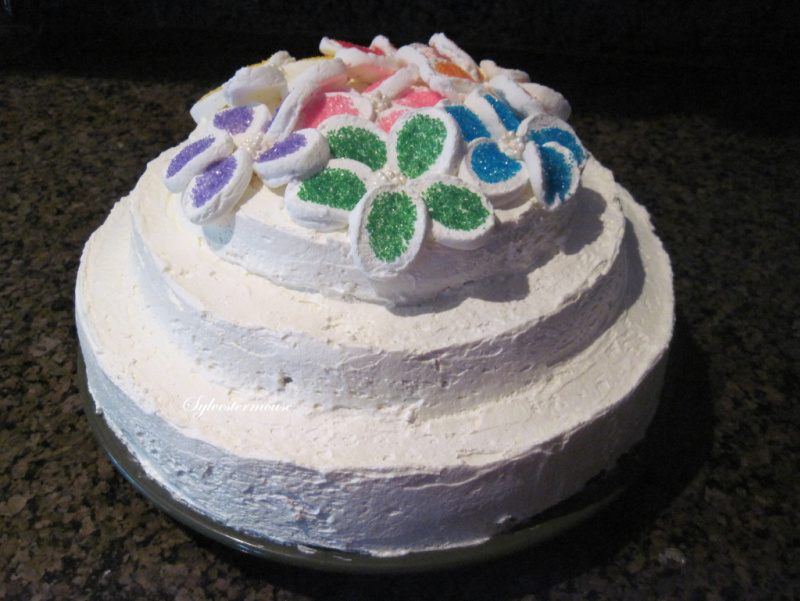
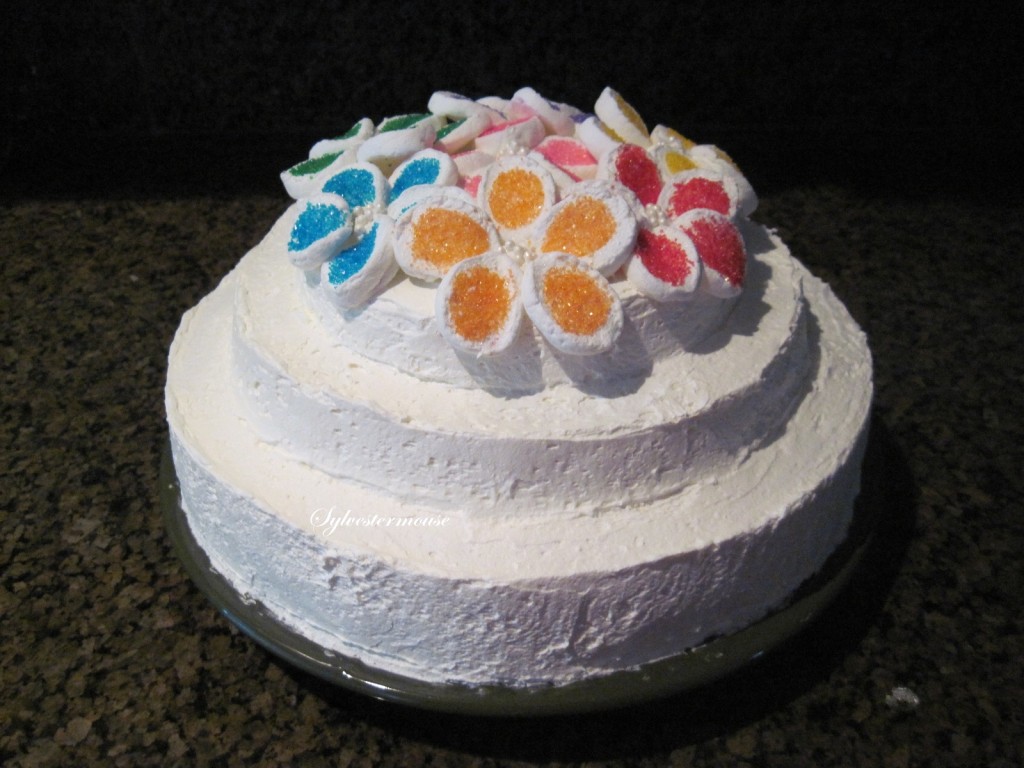
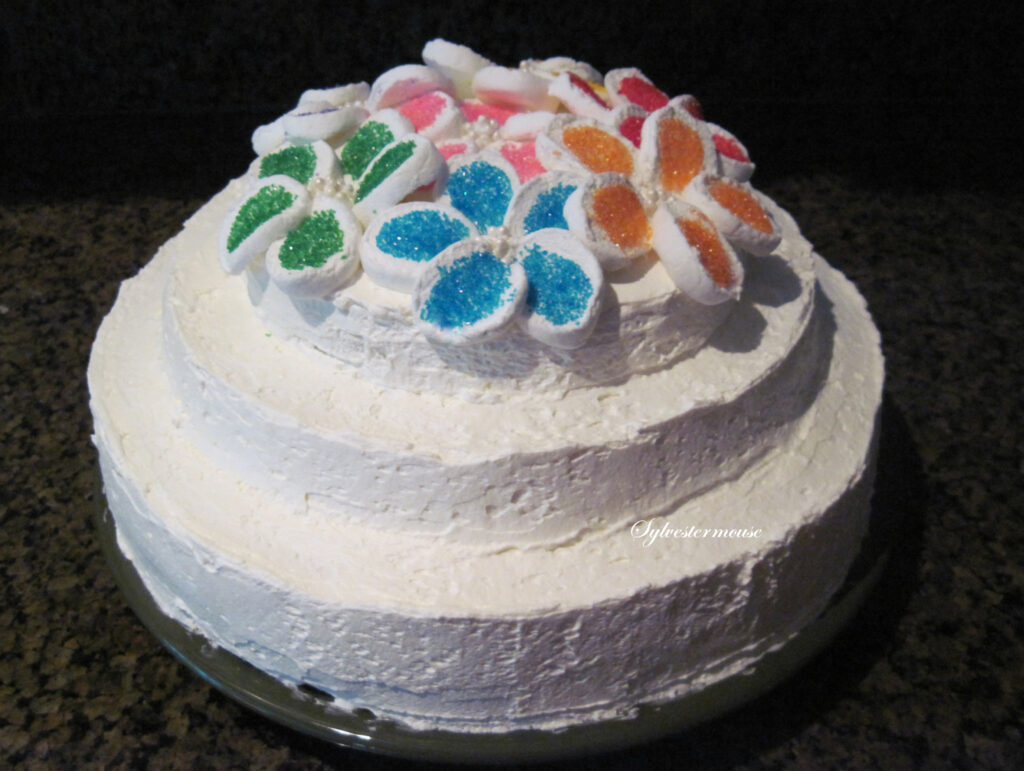
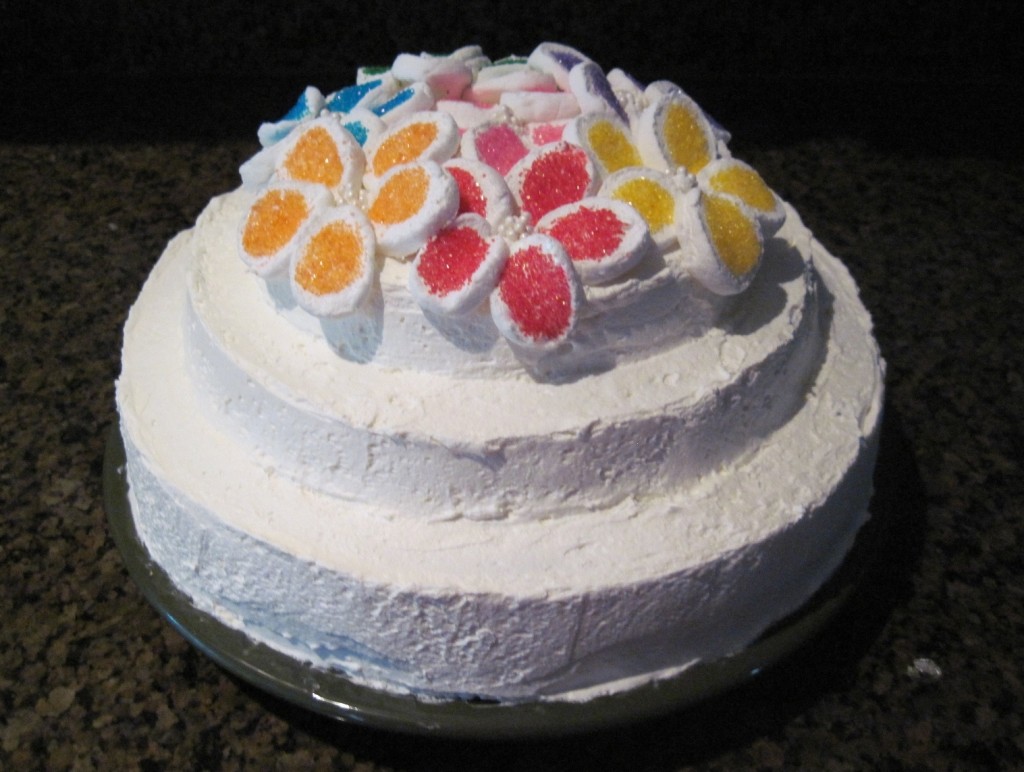
Tier Cake Decorated with Marshmallow Flowers
Complete Supply List for Tier Cake Decorated with Flowers
SUPPLIES NEEDED FOR CAKE
• 2 Boxes of Cake Mix (or cake recipe ingredients)
• Frosting (recipe ingredients)
• Filling (recipe ingredients)
• Marshmallows
• Sanding Sugar (7 colors)
• Pearl Cupcake Gems
• Butter
BASIC TOOLS NEEDED
• 3 Tier Bake & Fill Cake Pan
• Mixer
• Mixing Bowls
• Spatula
• Measuring Cup
• Decorating Spatula (4½” Blade)
• Stencil
• Cooling Rack
Actual Bakeware & Utensils I Use – Each Item Was Selected for a Specific Reason
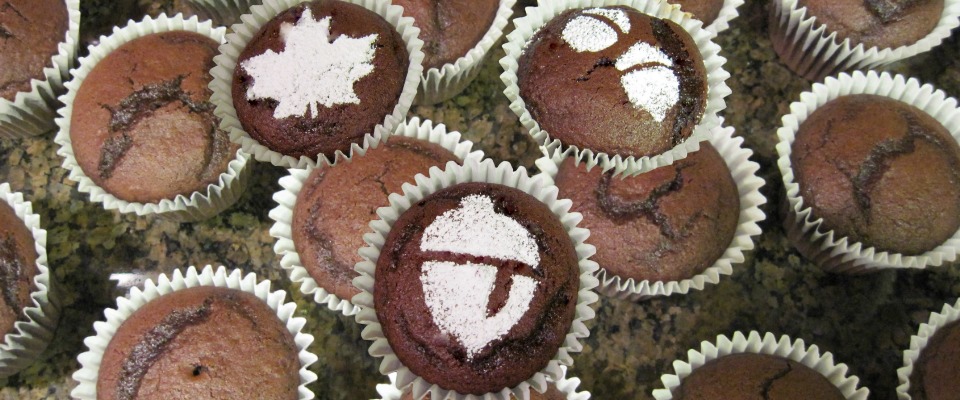
Stencils: 8 stencils are included in the package featured below. I used the miniature egg stencil for the flower petals.
Spatula: This is the decorating spatula I use for icing a tiered cake. I personally prefer the 4″ blade simply because it is small and lightweight. The shorter blade allows more control when frosting the narrow tiers.
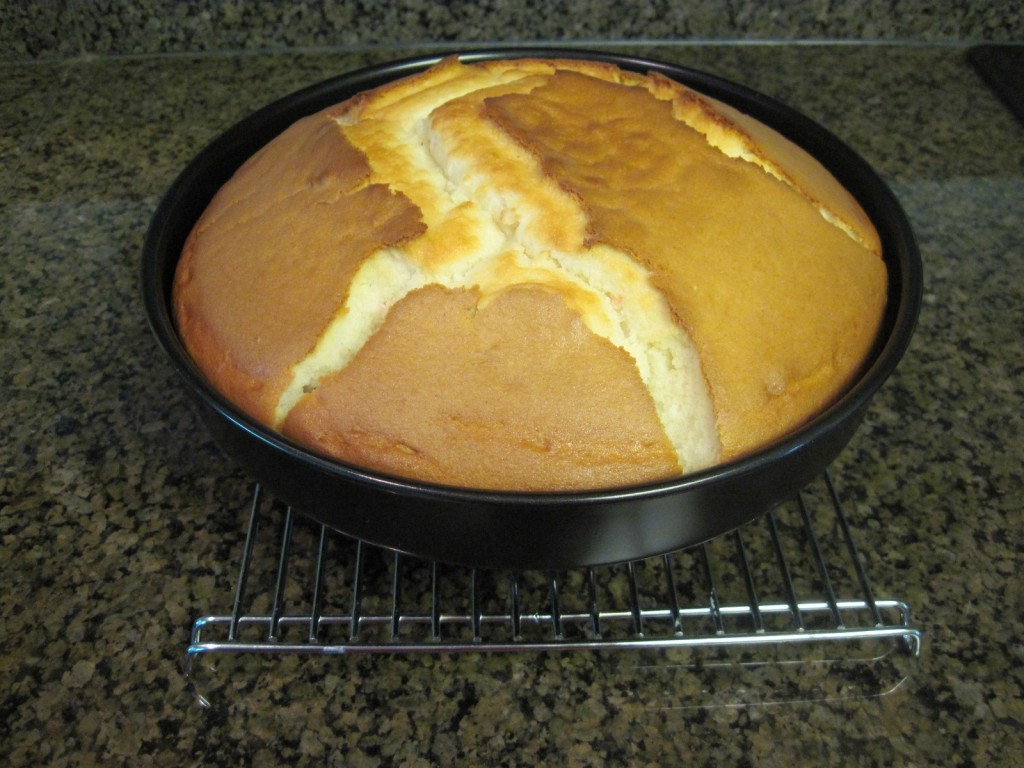
Cooling Rack: I Do Recommend a Cake Cooling Rack for This Cake ~ It Will Allow the Cake Edges and Sides to Cool Completely Before Turning the Cake Out of the Tier Cake Pan
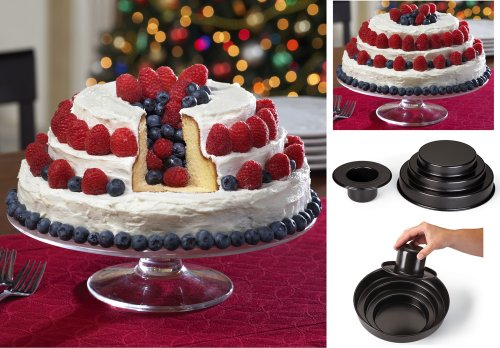
Scroll to Bottom to Check Availablility
Ateco 4.25 by 0.75-Inch Small Sized Blade Ultra SpatulaCheck PriceEaster Cupcake & Cookie Stencils
(see bottom of article if not available on Amazon)Check PriceNordic Ware Cooling Rack, Extra Large, CopperCheck Price
&
Directions for Baking a Tiered Cake
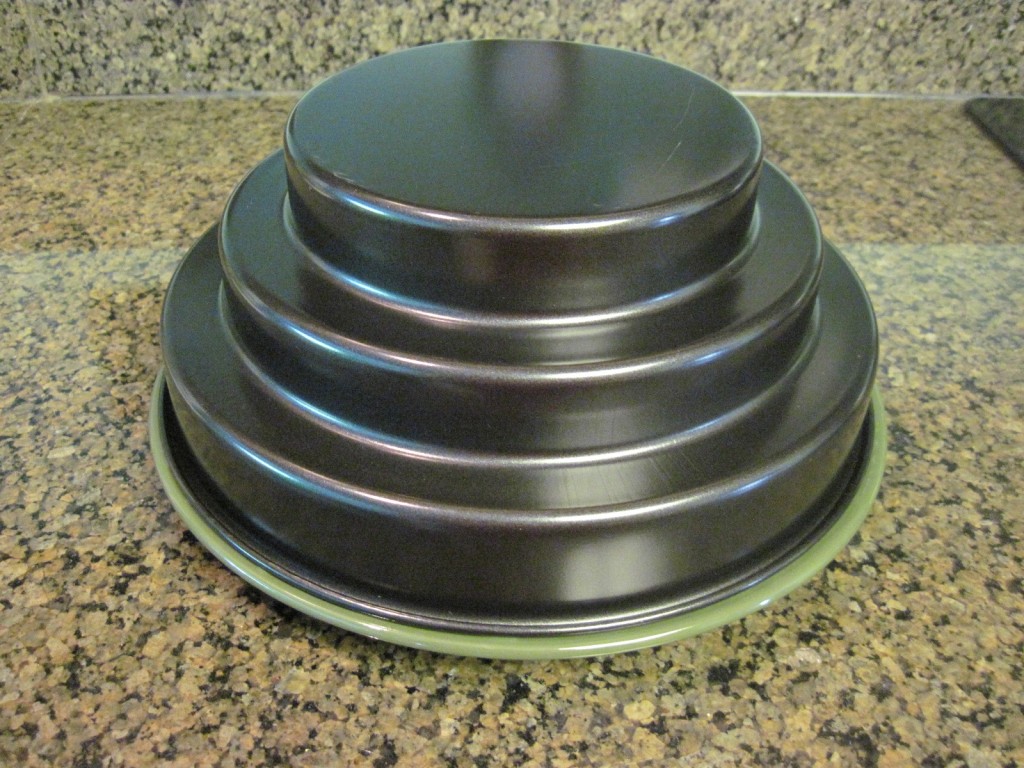
- Baking a tiered cake is a snap with the 3 Tier Bake and Fill Cake Pan.
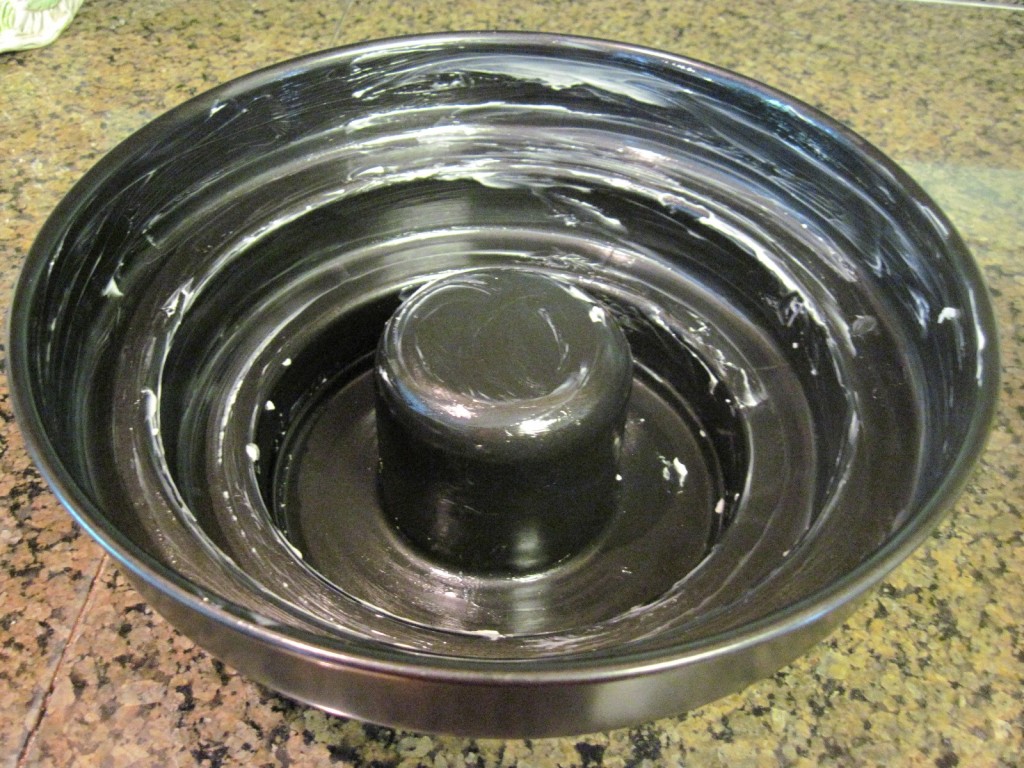
- Start by buttering the tiered cake pan. I use only butter, no flour, with this cake pan and that works quite well because of the pans non-stick finish.
- Place the inner core inside the cake pan and butter it too. (see photo for proper placement of inner core)
- Preheat your oven.
- Prepare your cake batter. If you are using a boxed cake mix, it will require 2 boxes of cake mix or a doubled recipe of a homemade cake recipe. (Because some recipes do not mix properly when doubled, I always prepare them separately and combine them after they are mixed.)
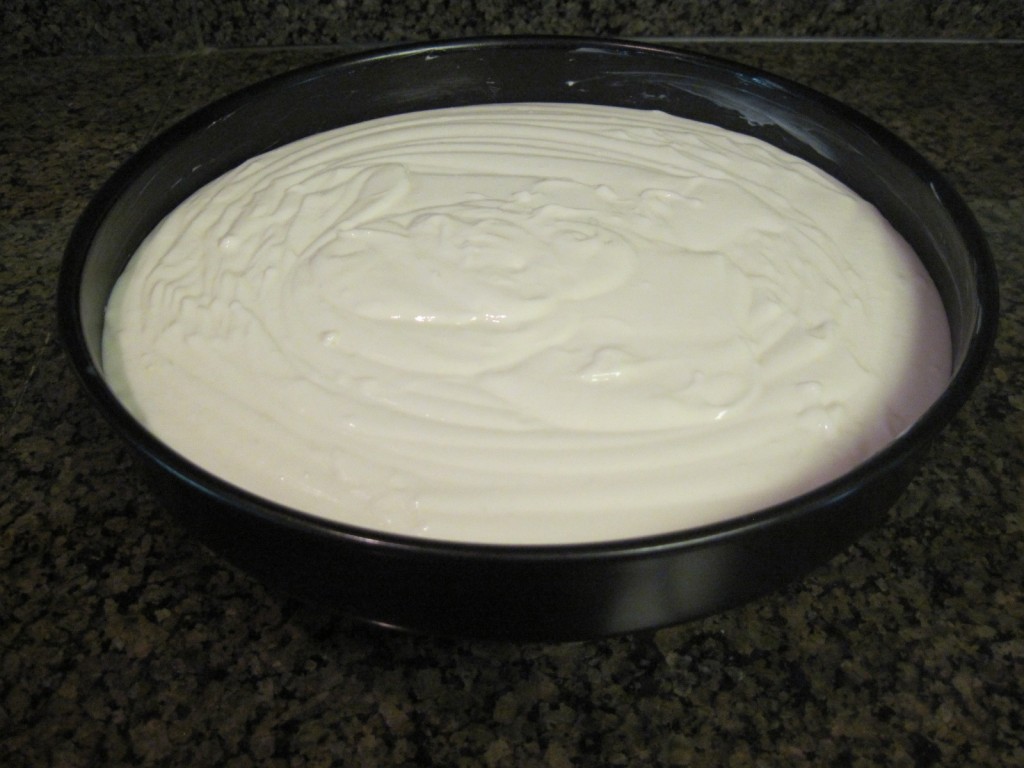
- Pour the cake batter into the prepared can pan. Do not overfill the pan. Leave approximately 1½” at the top to allow for the cake to properly raise.
- Bake the cake on 350° for 60 – 65 min. (Oven temps vary. I recommend checking the cake in 5 min. intervals after the first 50 min. using the toothpick method* to determine if the cake is completely done)
- Allow the cake to cool in the pan for 10 minutes
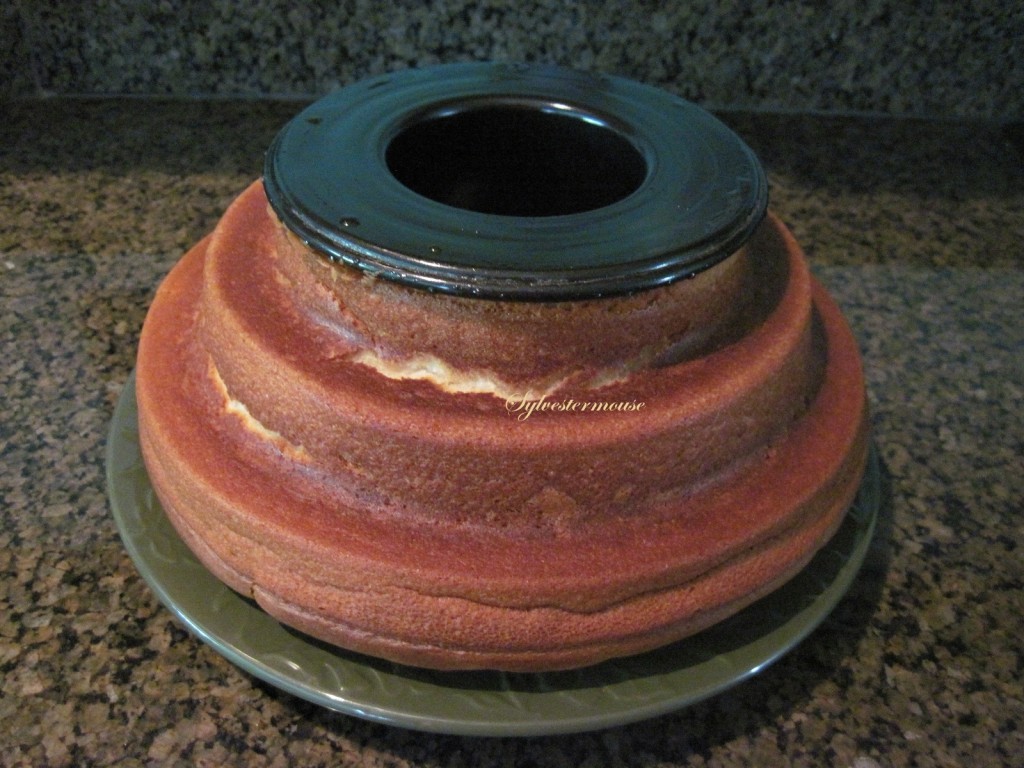
- Carefully turn the cake out of the pan and onto a plate.
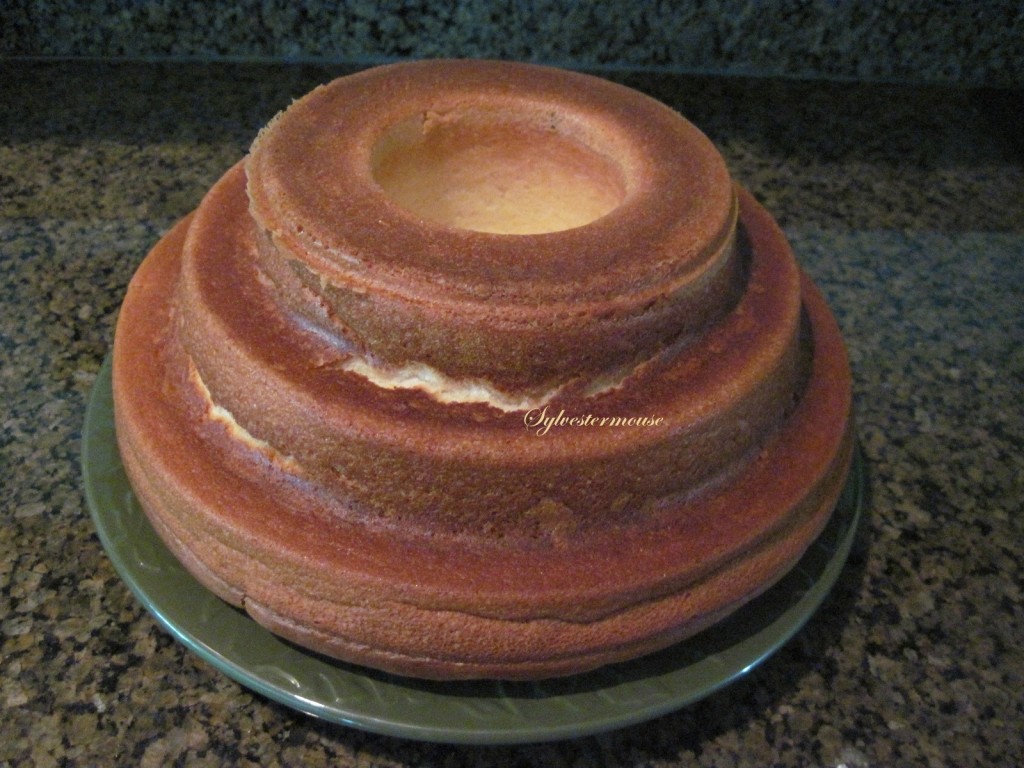
- Carefully remove the inner pan core.
- Allow the cake to completely cool for at least 1 hr.
Toothpick Test Method
Use a toothpick to determine exact length of baking time.
When a toothpick poked in the center of the cake comes out clean, the cake is ready.
Photos of Baking a Tiered Cake
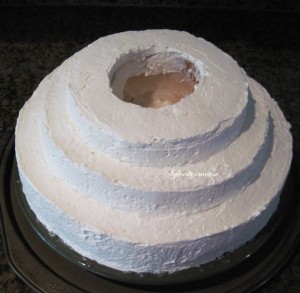
Frost & Fill the Cake
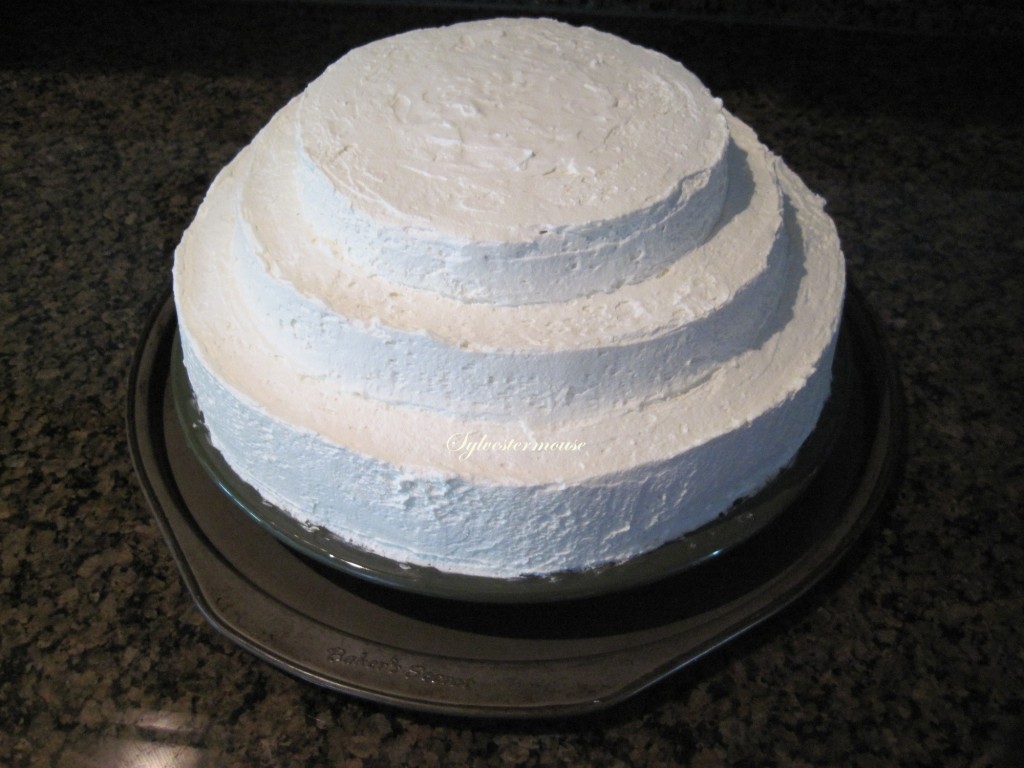
Frost the cake completely.
Fill the center of the cake with filling.
Center holds approx. 1⅓ C of filling.I used a whipped cream & coconut filling for the featured cake, but there are many ways to fill the center.
For this decorated cake, I recommend a pudding, whipped cream or jam filling which will allow for a smooth, stable top.(See additional filling recipes suggestions below)
Ready to Decorate
Recommended Filling Recipes for Tier Cake
- Banana Cream Filling Recipe
Very simple recipe with a real mashed banana.
Cake Decorating Tip
I would love to own a cake decorating rotating cake stand, but I do not own one.
I set my cake on a round pizza pan and it spins on my counter!
I use it the same way as a rotating cake stand
Cake Turntable or Rotating Decorating Stand for Cake Decorating – Makes Frosting a Cake Easier
This 12-inch tray features a soft-grip ring and smooth-rolling track
Tilts in 18 different locked positions
&
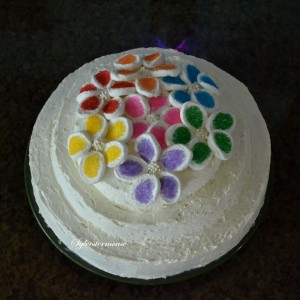
How to Make Easy Cake Decorating Flowers for Tiered Cake
Step by Step Instructions Using a Marshmallow!
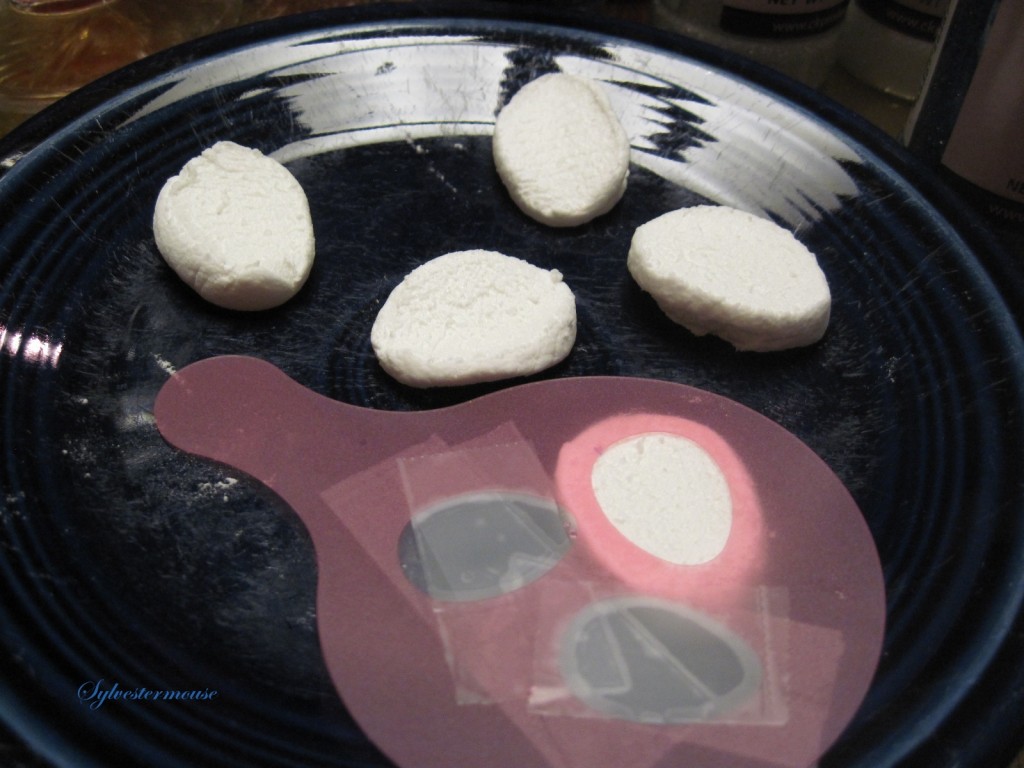
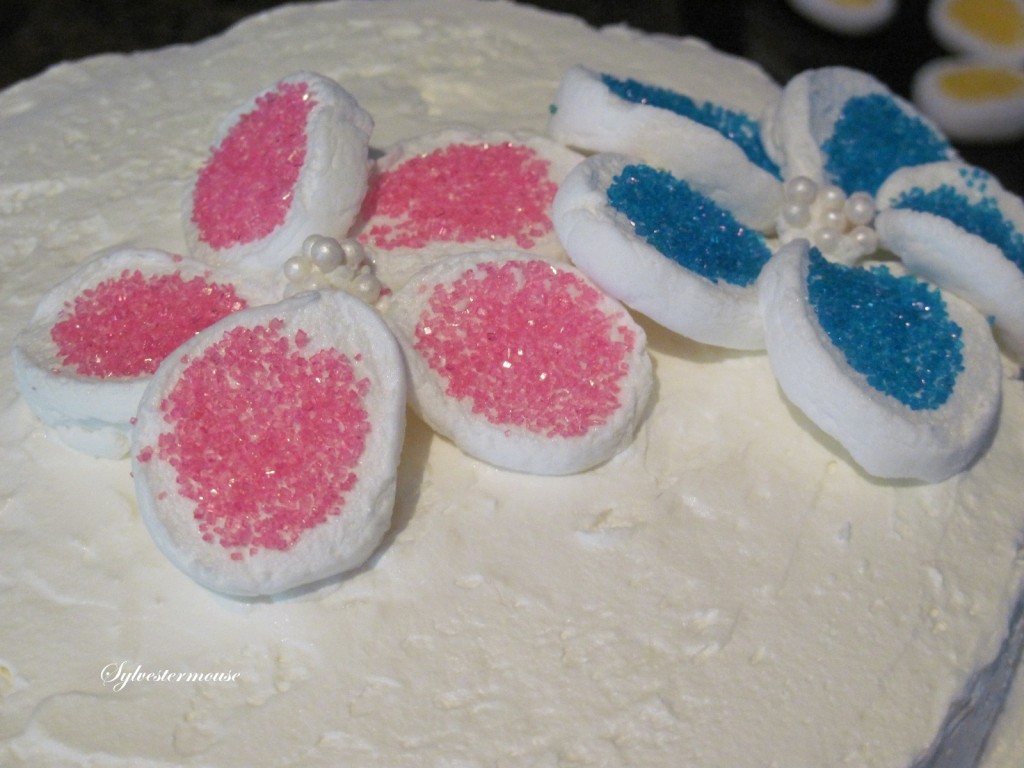
 Step 1: Cut one Marshmallow into 5 sections.
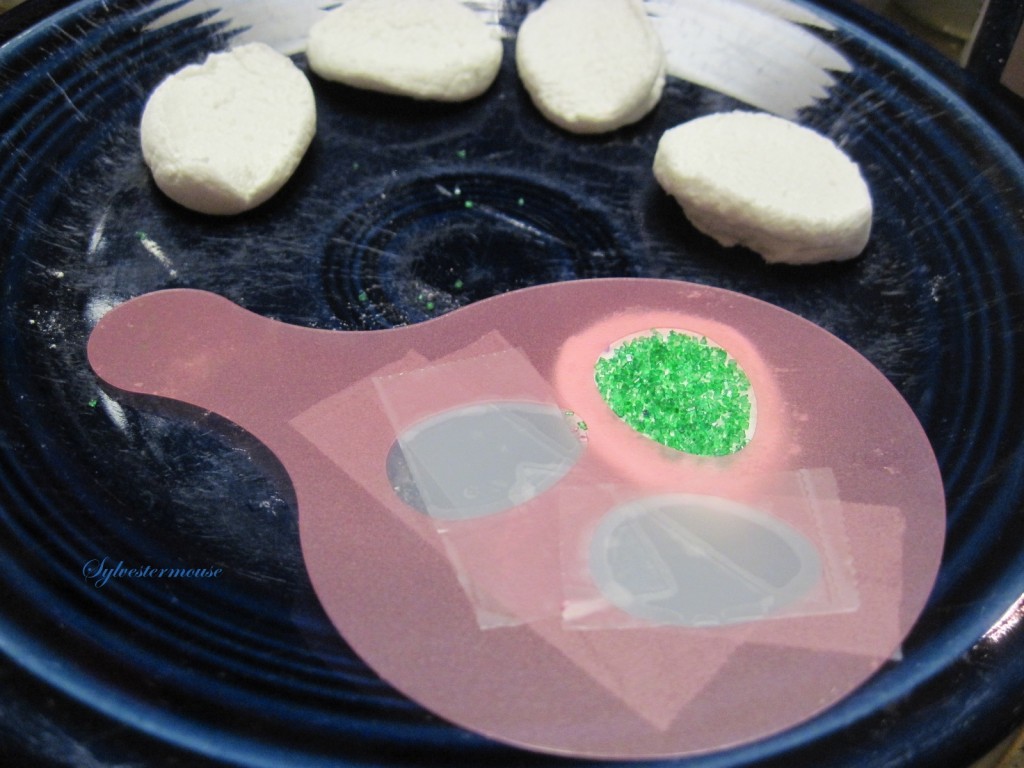
Step 2: Place the stencil or template. (I used a mini egg stencil featured below)
Step 3: Sprinkle with Sanding Sugar on the sticky side of each marshmallow section.
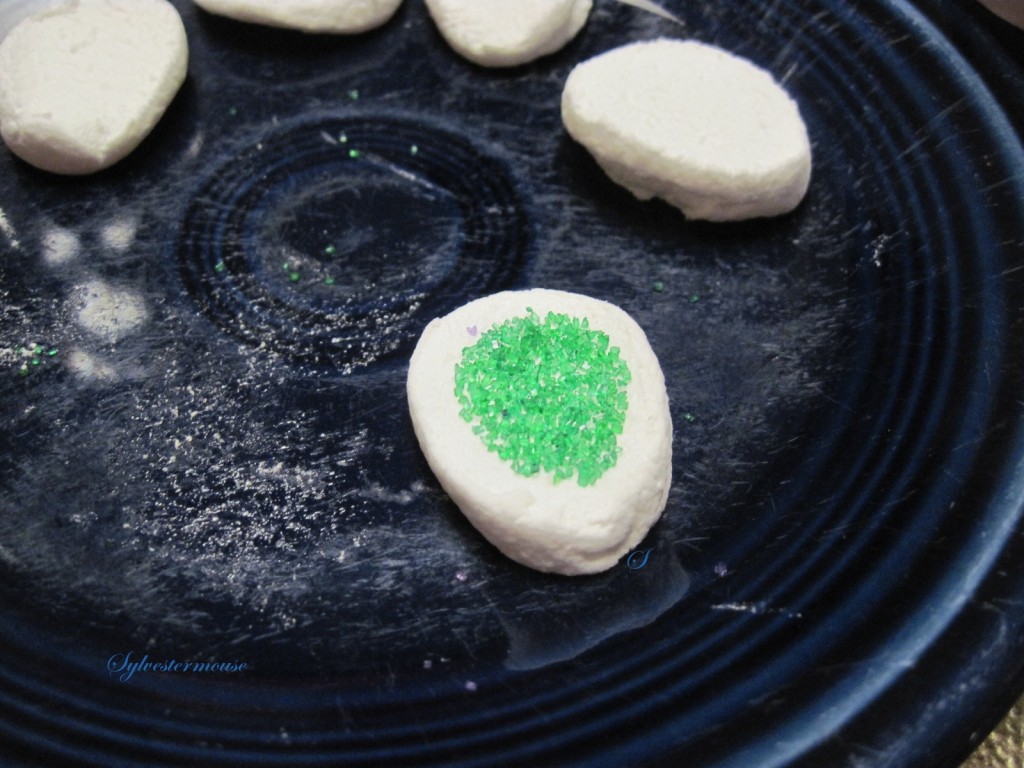
Step 4: Gentle press the sanding sugar in place and shake off excess sugar.
Step 5: Carefully remove the stencil
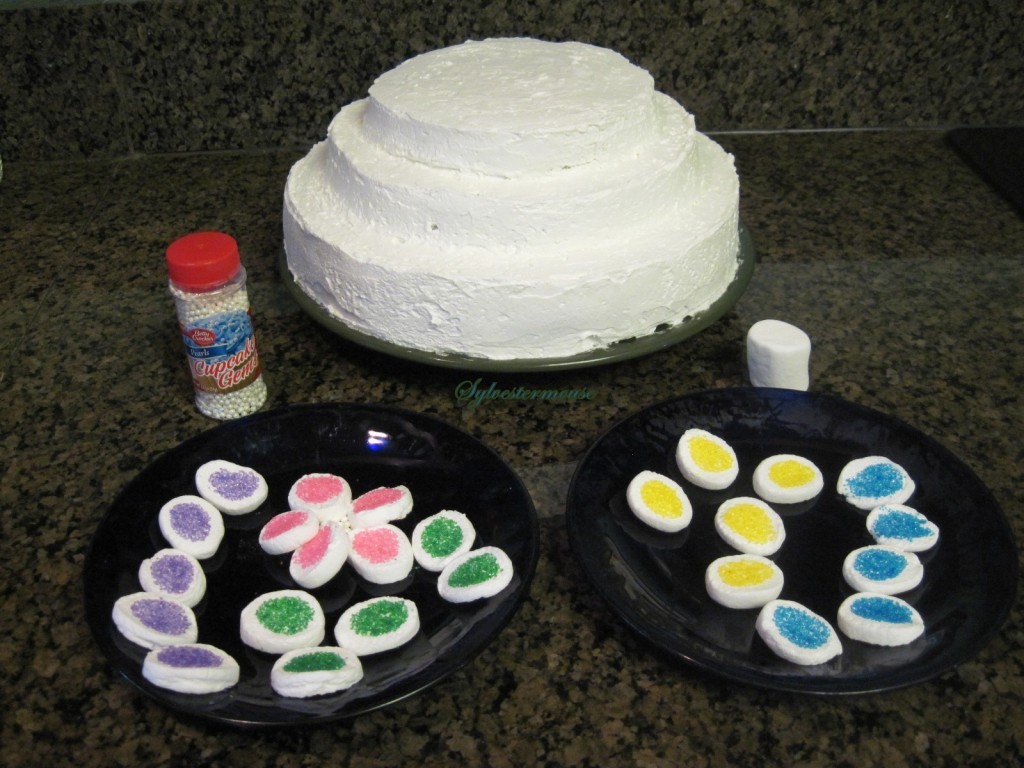
Step 6: Make 5 “petals” in each color for each flower.
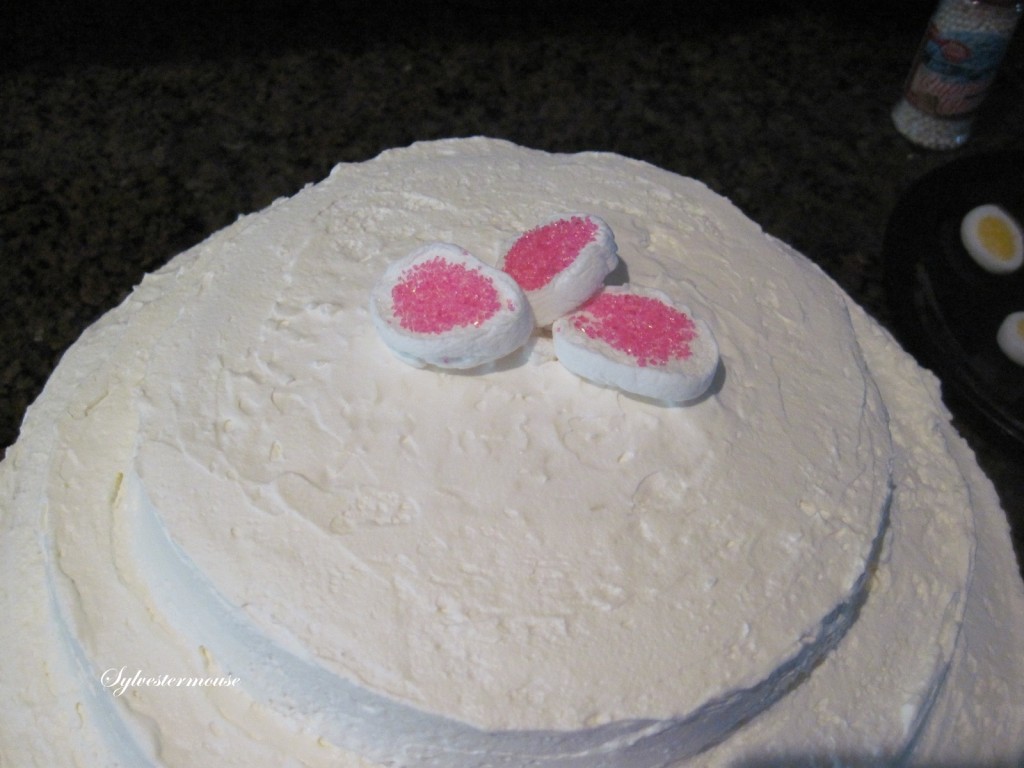
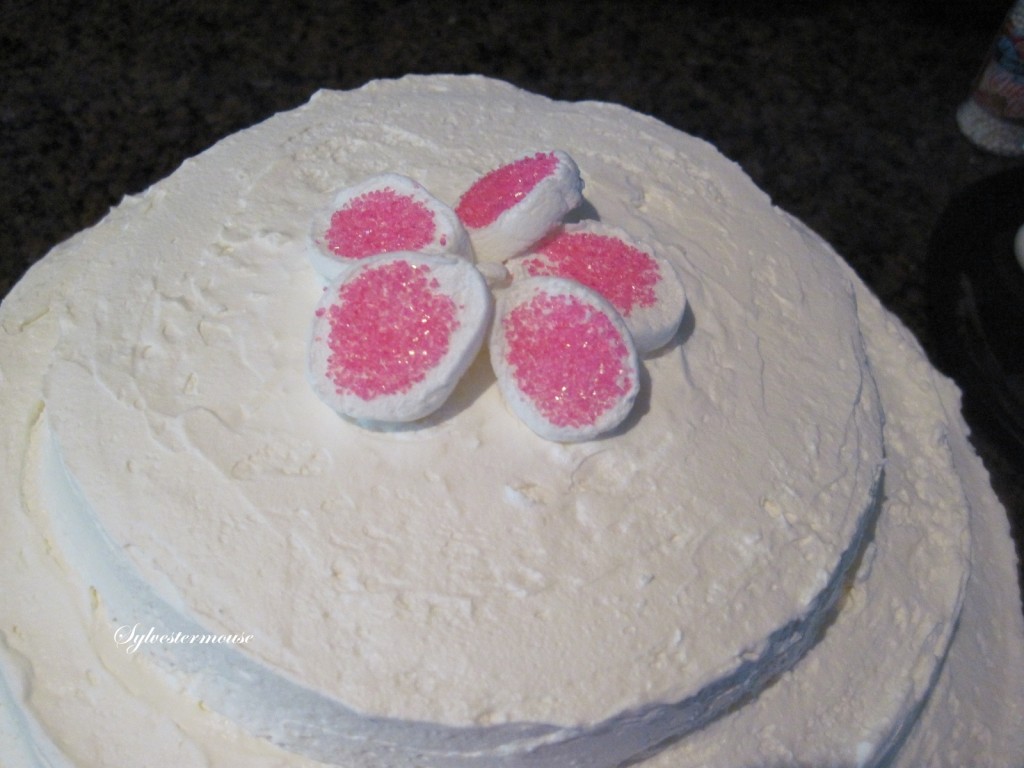
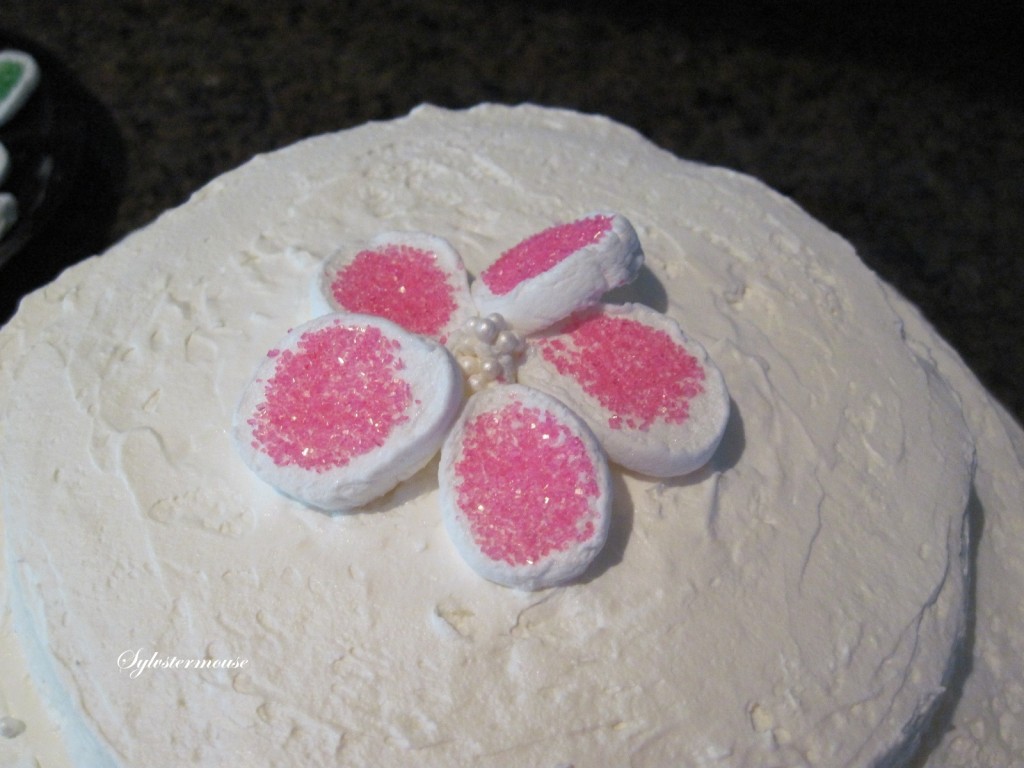
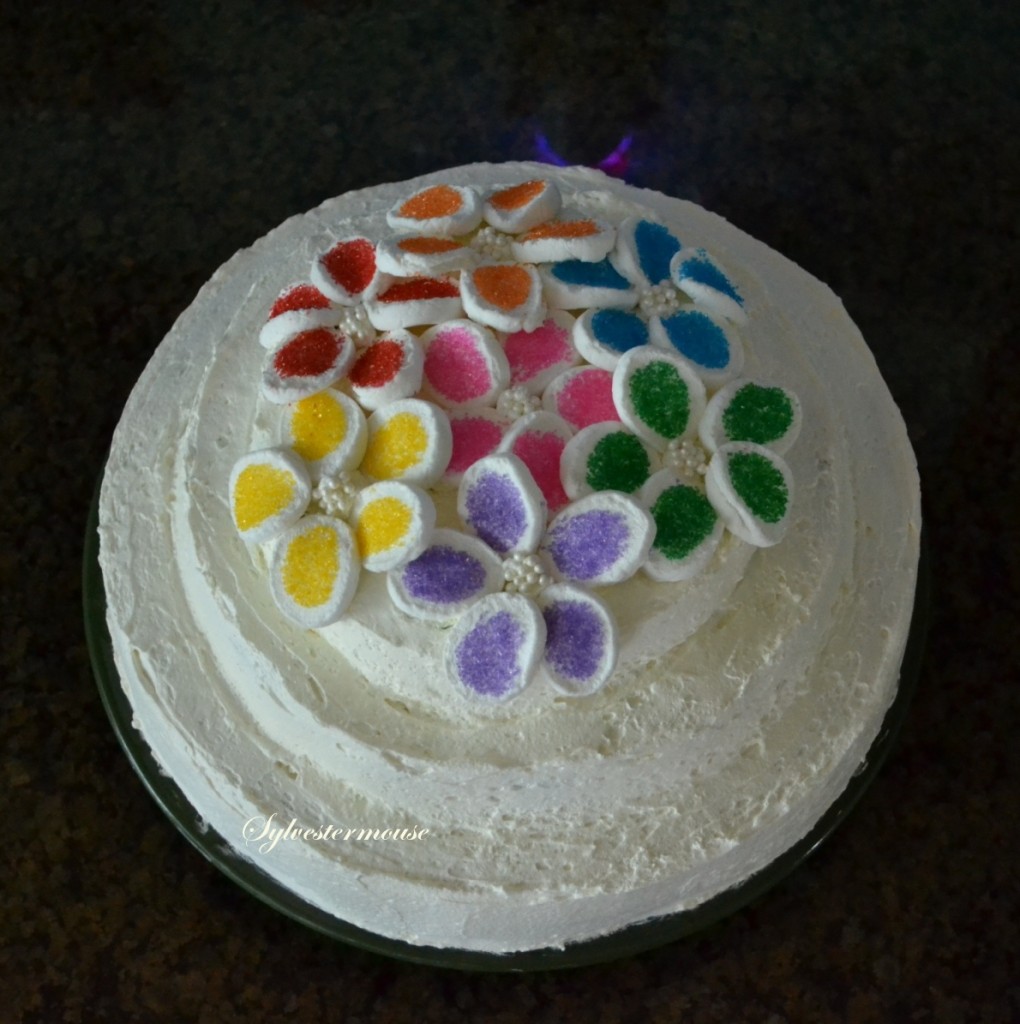
Step 7: Starting with the center flower, assemble the flowers on the cake top.
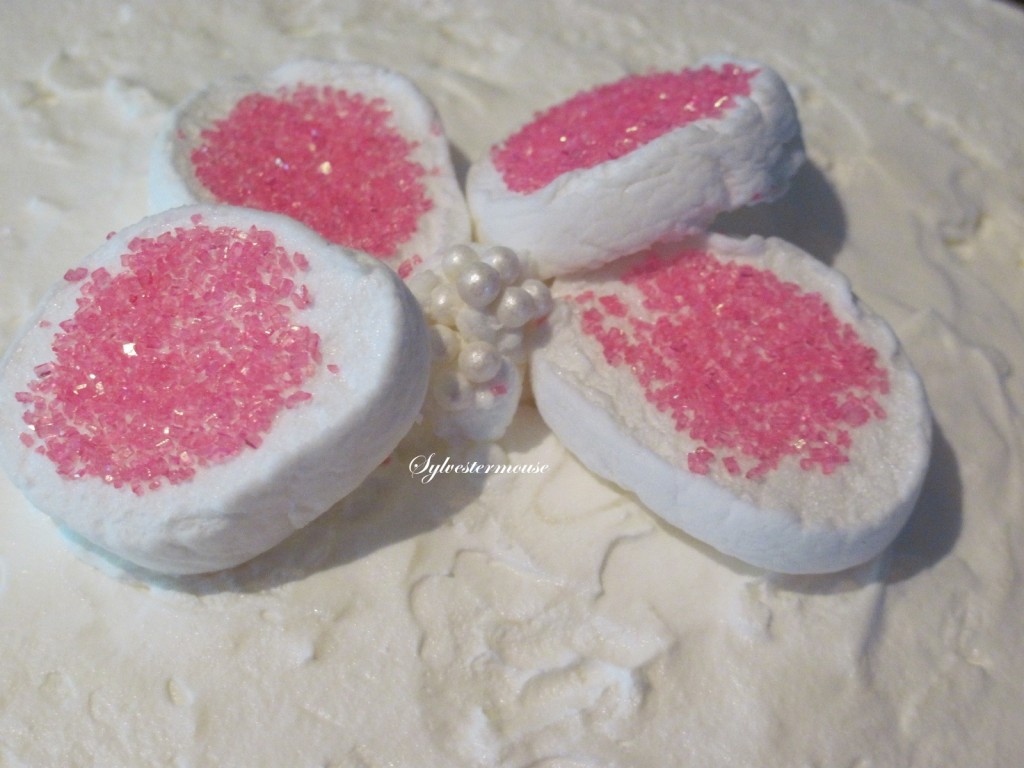
Step 8: For the center of each flower, pinch a section of a marshmallow and make a small ball (sticky side out). Place the marshmallow ball in the center of the flower and drop the Pearl Gems in place.
Photos of How to Make Easy Cake Decorating Flowers for Tiered Cake
Betty Crocker Pearls Cupcake Gems 2 ozCheck Price
Pearl Cupcake Gems for the Center of the Flowers
The round pearl balls make the perfect centers for the flowers. You need to use several pearl balls to create an attractive center.
This is the exact Pearl Cupcake Gems I used for the center of the flowers.
Not only are they lovely, they are edible!
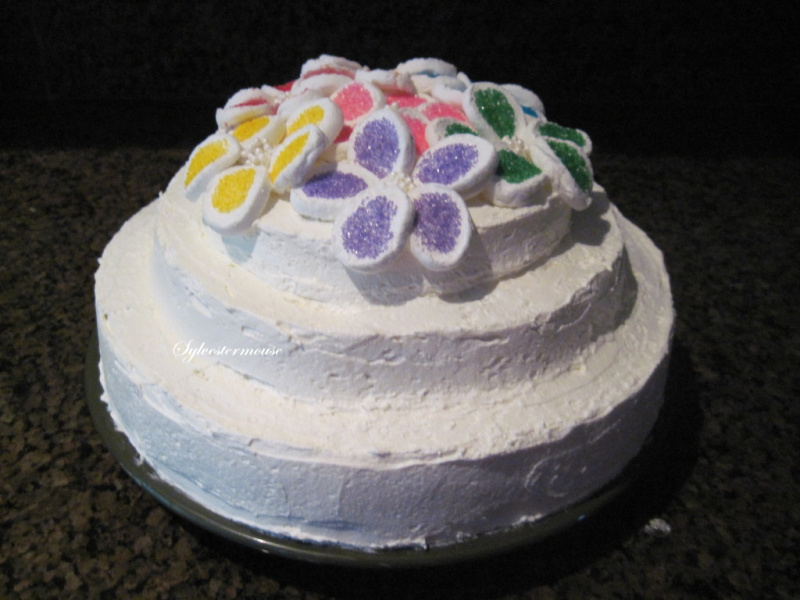
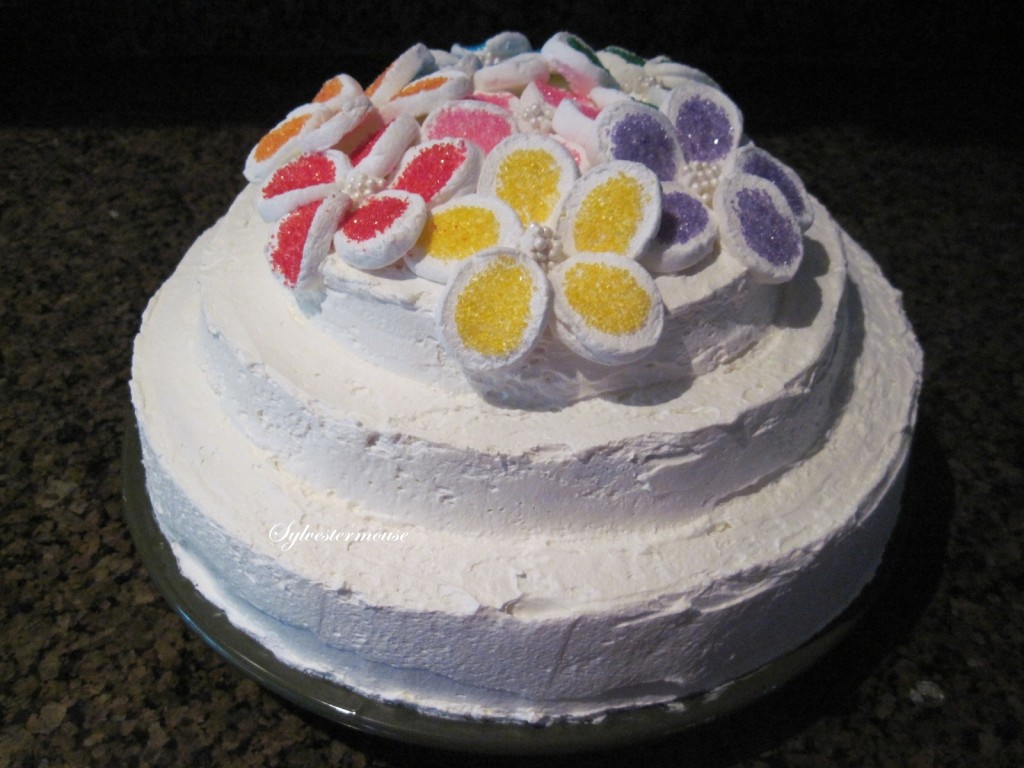
Photos of Tiered Cake Decorated with Flowers
Choose Your Favorite Color ~ Each Flower Color is Featured Separately
Celebakes by CK Products Emerald Green Sanding Sugar, 4oz.Check Price
Sanding Sugar to Make Easy Cake Decorating Flowers for Tiered Cake
I use CK sanding sugar and I can highly recommend this brand!
The added “sparkle” is truly quite stunning on any cake, cookie, cupcake, etc.
For the flowers on the featured cake, I used Pink, Lavender, Green, Dark Blue, Red, Orange and Yellow. You can, of course, choose the colors that you prefer. You could even make all of your flowers in the same color.
The Tier Cake Pan & Wilton Stencils Shown Above
Handy Gourmet 3 Tier Bake And Fill Cake Pan
 | $11.81 Buy It on eBay for only: $11.81 Buy It Now on eBay |
Handy Gourmet 3 Tier Bake And Fill Cake Pan
 | $17.00 End Date: Tuesday Dec-30-2025 05:02:49 EST Buy It on eBay for only: $17.00 Buy It Now on eBay |


One Comment
Cupcake Kate
Wow, that looks so delicious! But I’m a sucker for anything with marshmallows. :)
Kate